Taking screenshots has always been a necessary processes on computers, right back to the early days of Windows 95. People often know that there is a way of doing it but forget which key it was to take a picture of the screen, even then if they did manage to take the screenshot then they had to work out how to cut out the bits they didn’t need.
Well over the years Microsoft have created new tools, first the snipping tool which has helped, then more recently the Snip and Sketch Tool. This has been a great evolution.
So why is Snip and Sketch so useful?
If you are creating guides or documenting systems then being able to ‘snip’ the screen is essential. This version of the tool is useful because there is a simple shortcut key that will freeze the screen, allow you to draw a box around the bit you want to ‘snip’ and then put it onto your keyboard so you can paste it into whatever document or email you want. Very simple very efficient.
How to use Snip and Sketch?
So to use Snip and Sketch Press Win + Shift + S. So that is the Windows Key (the one that looks like a flag), the Shift key and the S key (S for Snip and Sketch). You will find that the whole screen goes dark and you can then click and drag around the section you are interested in. Once complete go to your document and choose paste.
Watch this video for a quick demo:
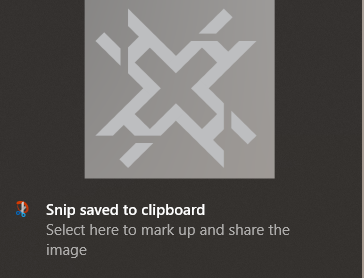
If you want to edit the screenshot or ‘sketch’ over it then either click on the notification that appears after you have taken a screenshot:
Or open the Snip and Sketch tool from the start menu and follow the instructions to take the screenshot from there.