How Cloudflare Can Make Your Website or App Safer and Faster

Cloudflare is a service that helps websites and apps run faster and more safely on the internet. It does this by using a network of computers around the world.
Why You Need a M365 Backup and How DropSuite Can Help

M365 is a powerful and popular cloud-based platform that offers a range of productivity and collaboration tools for businesses of all sizes.
How to Reset Your Microsoft 365 Password in Minutes
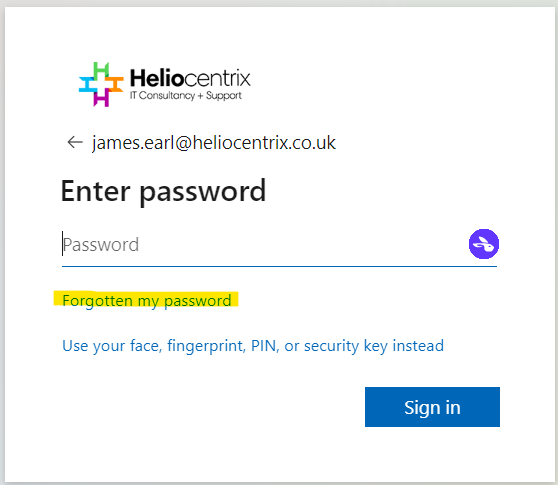
Password resets are one of the most common IT issues that users face. But what if you could reset your own password in minutes, without needing to contact anyone?
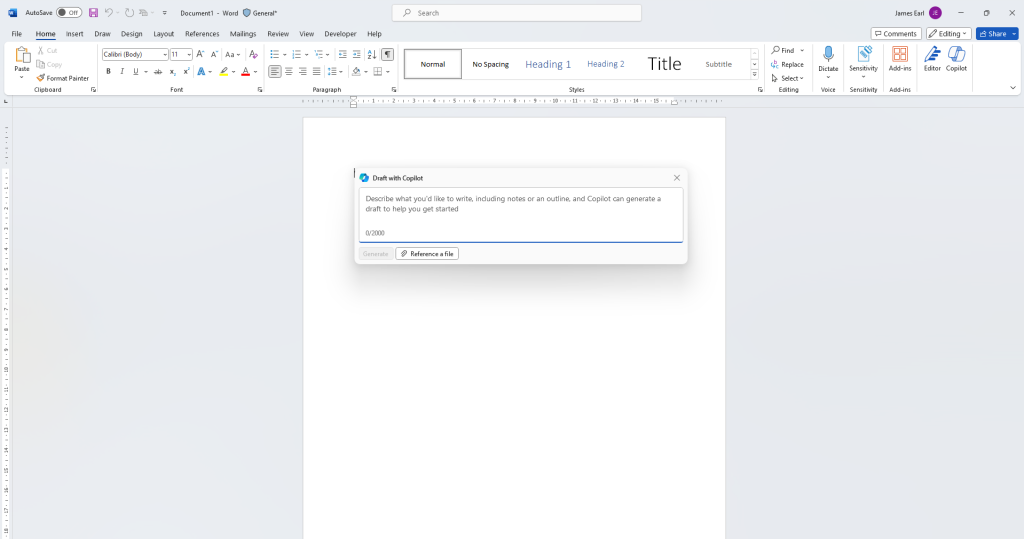
Microsoft 365 CoPilot: Our Review and Productivity Tips

Six months on from the release of Microsoft 365 CoPilot we give our review and discuss some of the ways it can help increase productivity.
How Phishing Simulations Can Help You Protect Your Organisation

Learn how to identify, prevent, and respond to phishing attacks with simulated scenarios.
Microsoft Teams Phishing Attacks
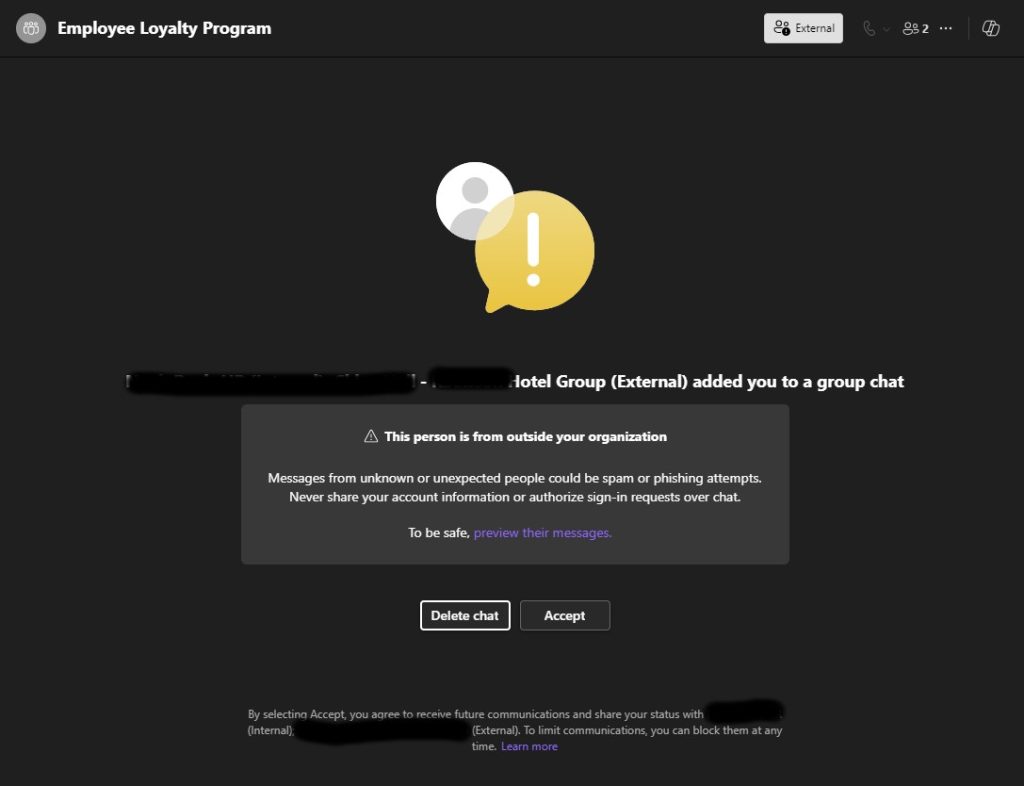
Malicious actors have expanded their attack vectors to include Microsoft Teams messages. See the example we recently received so you can be prepared if it happens to you.
What Are Plus Email Addresses And How Do You Use Them?

Plus email addresses are a powerful tool to help you manage your inbox more effectively. Read this post to find out what they are and how to use them.
How Power Automate Can Boost Your Business Productivity

Power Automate is a cloud-based automation tool that allows you to create and run workflows across multiple applications and services. You can use Power Automate to automate repetitive tasks, such as sending emails, creating reports, updating records, and more.
Avoid the Junk Folder: How to Meet New Email Requirements
Avoid the junk folder by setting up SPF, DKIM and DMARC DNS records to improve your domain reputation with recipients.
Understanding the Differences: Windows Copilot vs Microsoft 365 Copilot
This article aims to help clarify the difference between Microsoft 365 Copilot and Windows Copilot