App/system: Microsoft Word
Learn: How to add headings and subheadings to a Word document
Skill level: Beginner
Read time: 2 minutes
If you want to structure and format your document so it looks professional and is consistent with your branding, using the Styles feature in Microsoft Word is an efficient way to do it. Our video and guide below will show you how to add headings and subheadings and make sure different types of heading use the same font and formatting.
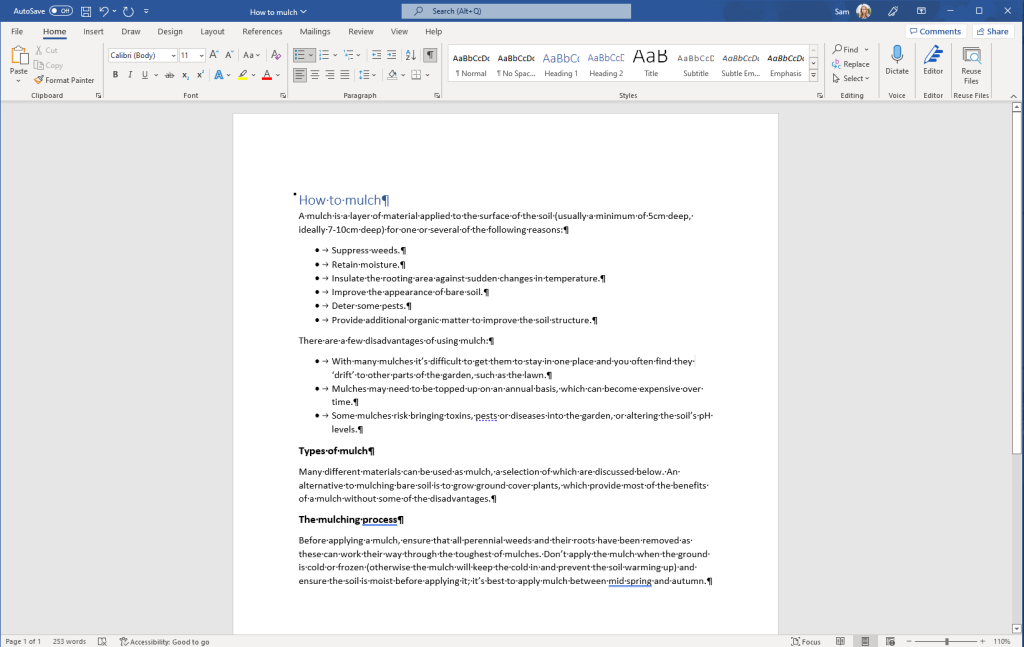
- Highlight the text you want to turn into a heading or subheading and make sure you are on the Home tab.
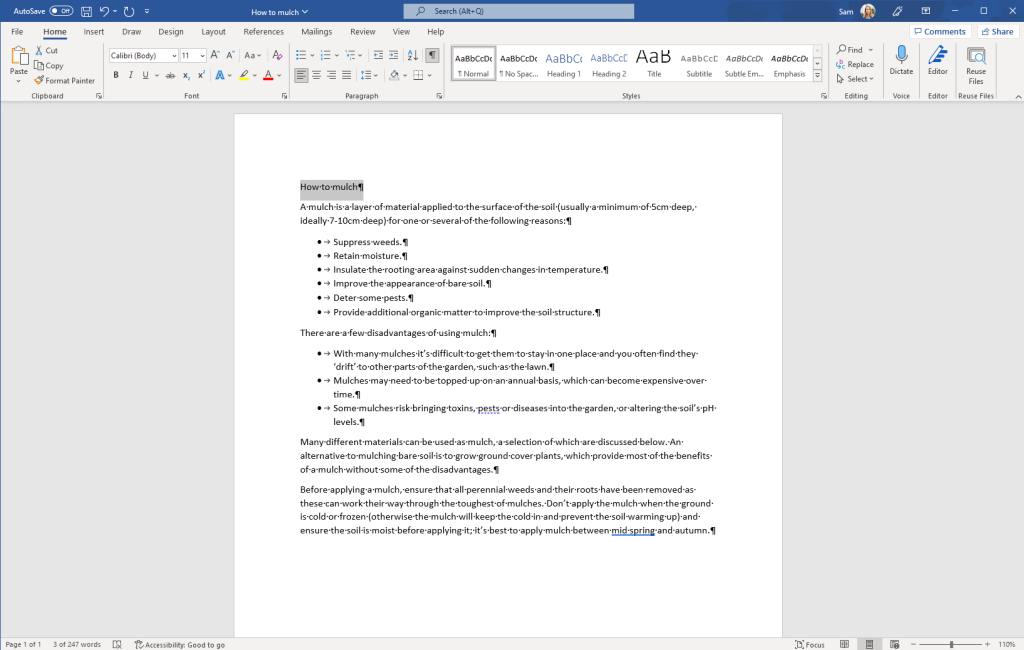
- In the Styles section of the ribbon, click on the heading level you want. Heading 1 is typically used for document titles. Heading 2 is generally used for subheadings.
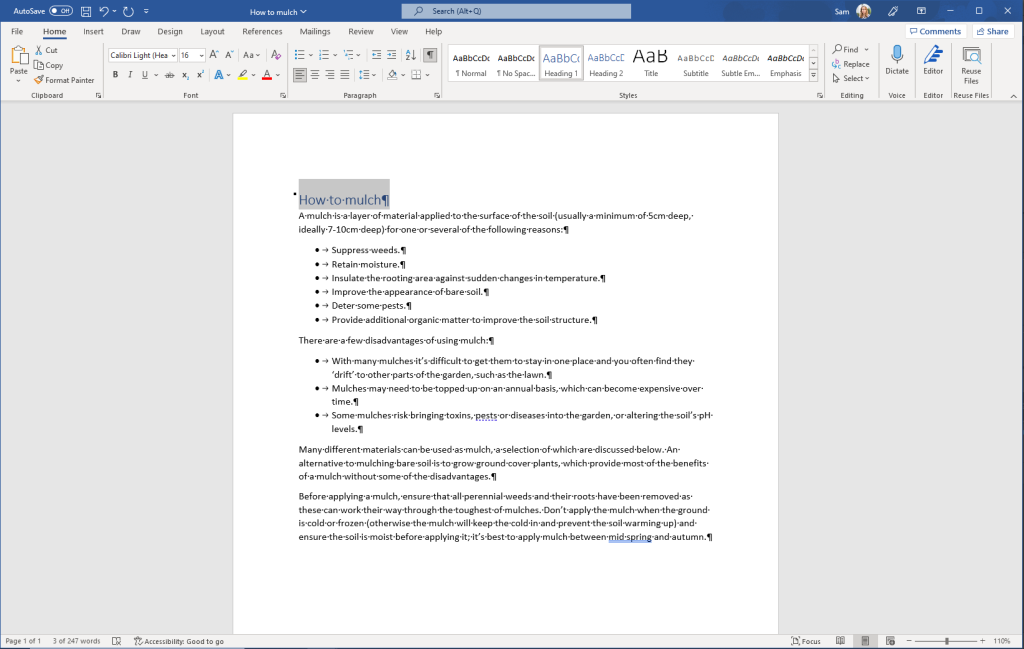
- If you want to customise the text formatting for headings or subheadings (for example, the font, the text size or anything else), highlight the heading text and use the font tools to change the formatting. In the video, we demonstrate how to do this for the subheading.
- Move your cursor to Heading 2 in the Styles section and right click. Click Update Heading 2 to Match Selection.
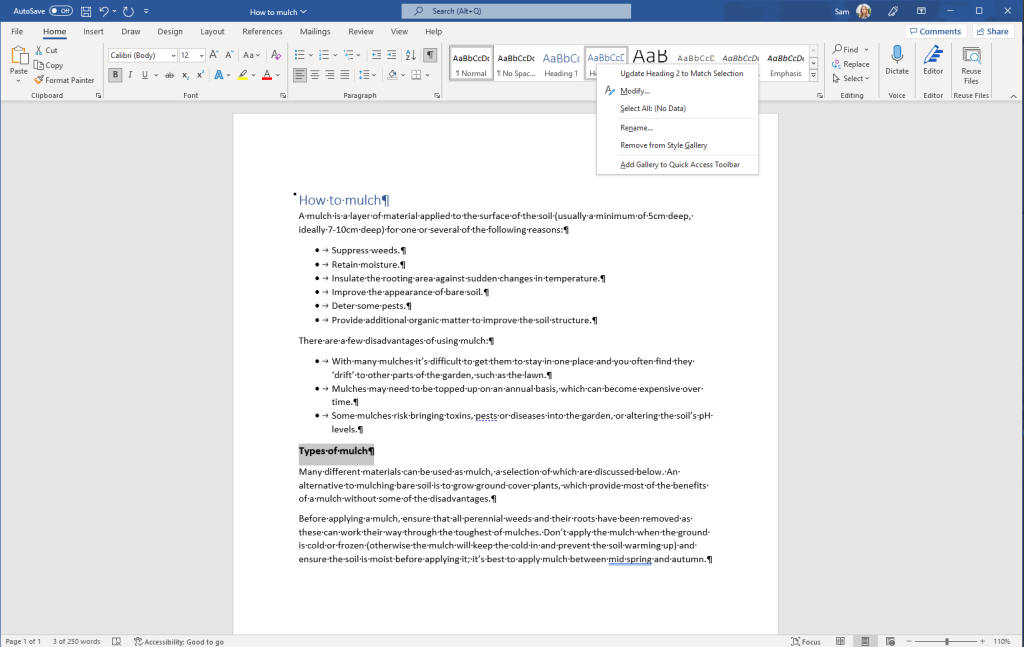
- Word will change the formatting for Heading 2 and any other subheadings where you use the Heading 2 style will automatically be updated.